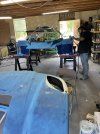
A little update and some helpful tips for future builders:
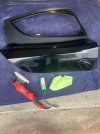
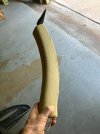
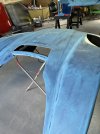
It has been in the mid 100s in West Texas and have been driving quite a bit lately, I don't have oil coolers and my water temps are peaking at 206 with the A/C full blast and sitting in traffic, very happy about that . My advice is spend good amount of time on BOTH your inlet and outlet duct design to maximize radiator flow and diminish turbulent flow.
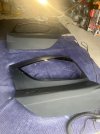
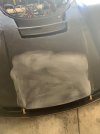
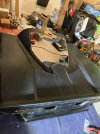
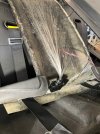
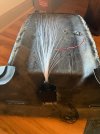
I strongly recommend a vent into the footbox, I initially intended it for the heater but it helps a lot keeping you legs cool, even though I have a heavily insulated footbox, it still makes a huge difference. OH and yes insulate your footbox as much as possible, more is better , even with great ducting heat still transfers quite a bit as the radiator is right in front of your legs.
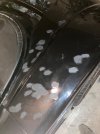
As Kurt mentioned in his post, backing up can be tricky, I strongly recommend a backup camera. Judging distances with my side mirrors and main rear view mirror (camera is mounted on the roof ) is difficult . the adjustable little cone images of different colors are super helpful .
I have my backup camera activated when the the car is in reverse gear and projected into the stereo, but could be done on the digital dash ( I have the AIM MXS 1.2) or the rear view mirror.
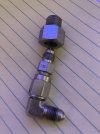
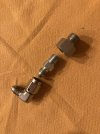
I have an AIM proximity sensor on one of my front wheels for speed readings instead of GPS based, it flutters a bit even at 10 Hertz , still trying to fine tune it, but overall very happy with the setup.
The stereo works well, I am able to enjoy some music but the engine noise wins every time rpms go up. unfortunately I don't think I could carry a cell phone conversation while driving , but I have my blue tooth connected so that I know when someone is calling , hard to hear the phone ring as well
")
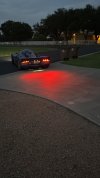
. But people sure know you are coming.
Love my valentine radar detector remote screen built into my dashboard. The radar is mounted inside on the roof. Always good to know when someone is around you with a radar on , it is super easy to get on it and exceed the speed limit 10 or 20mph.
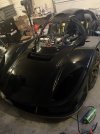
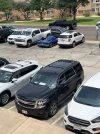
Still getting used to the attention. It takes forever to get out of any parking lot as people flock to the car and always try to guess what kind of car it is , and the questions keep coming. Coming out of my office a couple of days ago several people (At least 10) on the building next door where lined up at the door taking cell phone videos as I was leaving.
A young woman got out of her car at a stop light to take pictures of the car, and the light turned green, I had to wait for her to get out of the way . Just crazy stuff !!, I find more funny than annoying and I don't mind talking to people when they have questions . I heard all about the attention thing , but was not expecting the magnitude of it all. Quite interesting .


")