Keeping at it, albeit at a slow pace.
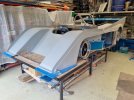
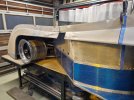
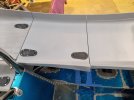
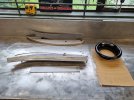
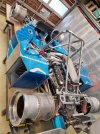
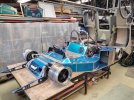
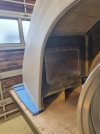
Rear of the front clip are attached via 6 Zeus fasteners.
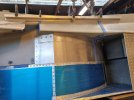
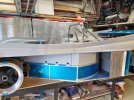
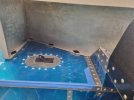
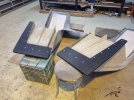
The front splitters are ply with woven fibreglass mat wrap. Front tunnels all complete with inspection panel in tyre wells.
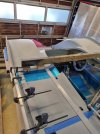
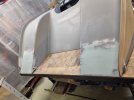
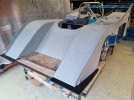
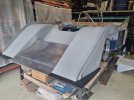
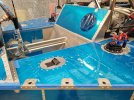
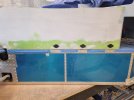
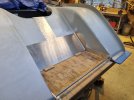
Just attached the form panels to glass the front quarters back together.
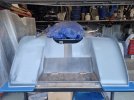
Cant wait for the sanding to end and the wiring to start.
Andrew.
Rear of the front clip are attached via 6 Zeus fasteners.
The front splitters are ply with woven fibreglass mat wrap. Front tunnels all complete with inspection panel in tyre wells.
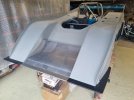
Just attached the form panels to glass the front quarters back together.
Cant wait for the sanding to end and the wiring to start.
Andrew.
")